


How to Connect and Configure a VIGI Camera Step by Step
Published: September 30, 2026
Quick Answer
-
Connect the camera to power and your network, usually with one PoE cable to a VIGI NVR or PoE switch, then activate it by setting a password, since VIGI devices don't ship with a default one.
-
With a VIGI NVR and Plug and Play turned on, new VIGI cameras on the same network are added and activated automatically, while single cameras can be added in the VIGI App by scanning the label's QR code.
-
Fix the time zone, compression, detection rules, and user accounts on day one, because those settings decide whether footage is usable as evidence.
Getting a VIGI camera online takes minutes, and the order you do things in decides whether it stays useful for years. This guide covers the three ways to bring a VIGI camera online, the settings to fix before you walk away, and what to check when a camera won't appear. If you only need to view an existing camera on your phone, our shorter guide shows how to connect an existing CCTV camera to your phone.
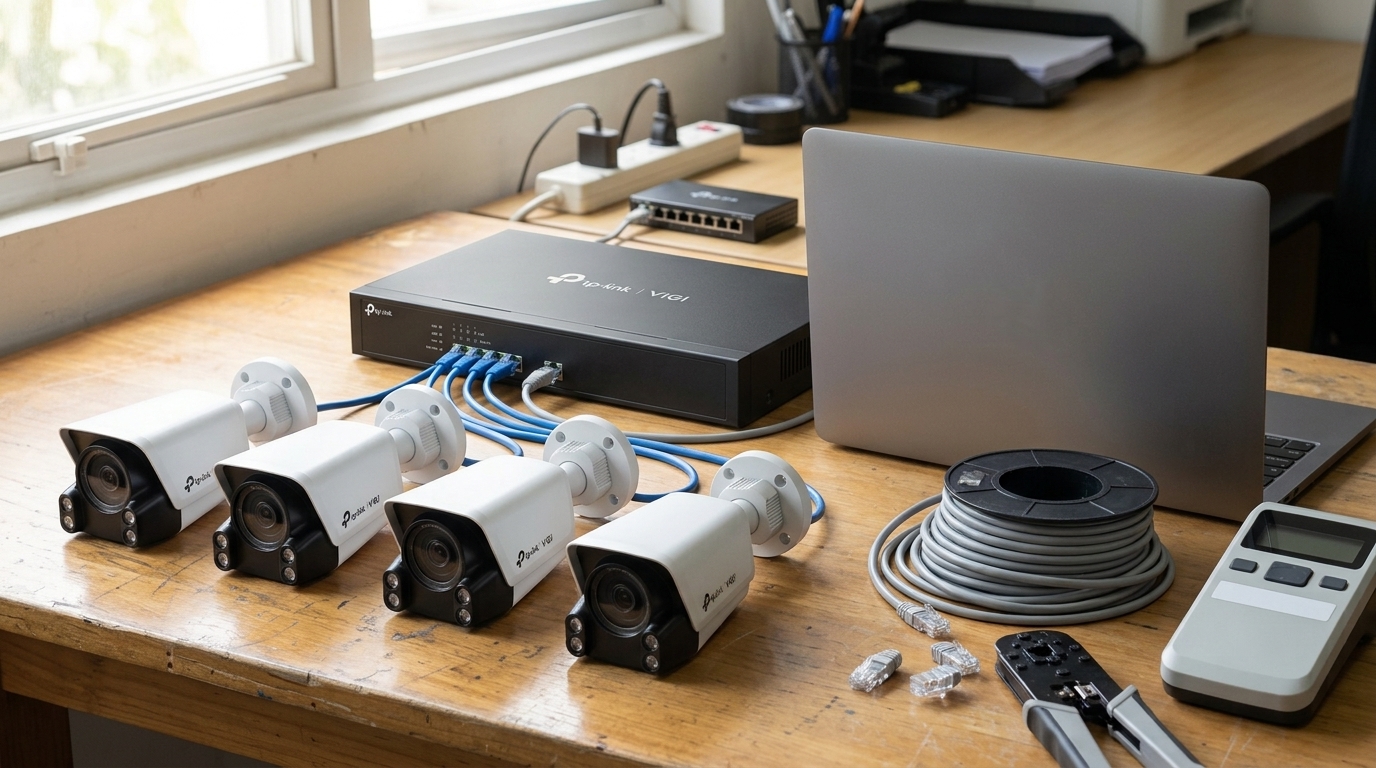
Table of Contents
What Do You Need Before You Start?
Which Setup Path Should You Use?
How Do You Set Up a Camera With a VIGI NVR?
How Do You Add a Camera in the VIGI App?
How Do You Configure Many Cameras at Once?
Which Settings Should You Fix on Day One?
How Do You Set Up Remote Viewing?
What If a Camera Won't Show Up?
What Do You Need Before You Start?
Five minutes of prep saves an hour on a ladder.
- The camera and its label. The QR code and MAC address on the label are how the app and tools identify it.
- Power. A PoE port on a VIGI NVR or PoE switch, or the camera's DC adapter if your model has one.
- A network. A router with internet if you want remote viewing. Keep your phone and the camera on the same network during setup, not the guest Wi-Fi.
- A TP-Link ID. Create one in the VIGI App if you don't have it yet.
- A password plan. You'll set one for the NVR and one for the cameras. Write them down somewhere safe, not on a sticker on the NVR.
- A hard drive in the NVR. Most VIGI NVRs ship without one, though some kits come with a drive preinstalled. Install it before first boot.
If the cabling isn't done yet, start with how to cable and power PoE cameras and come back once every camera has power. To see how VIGI camera configuration fits into the full installation process, start with our installation guide.
Which Setup Path Should You Use?
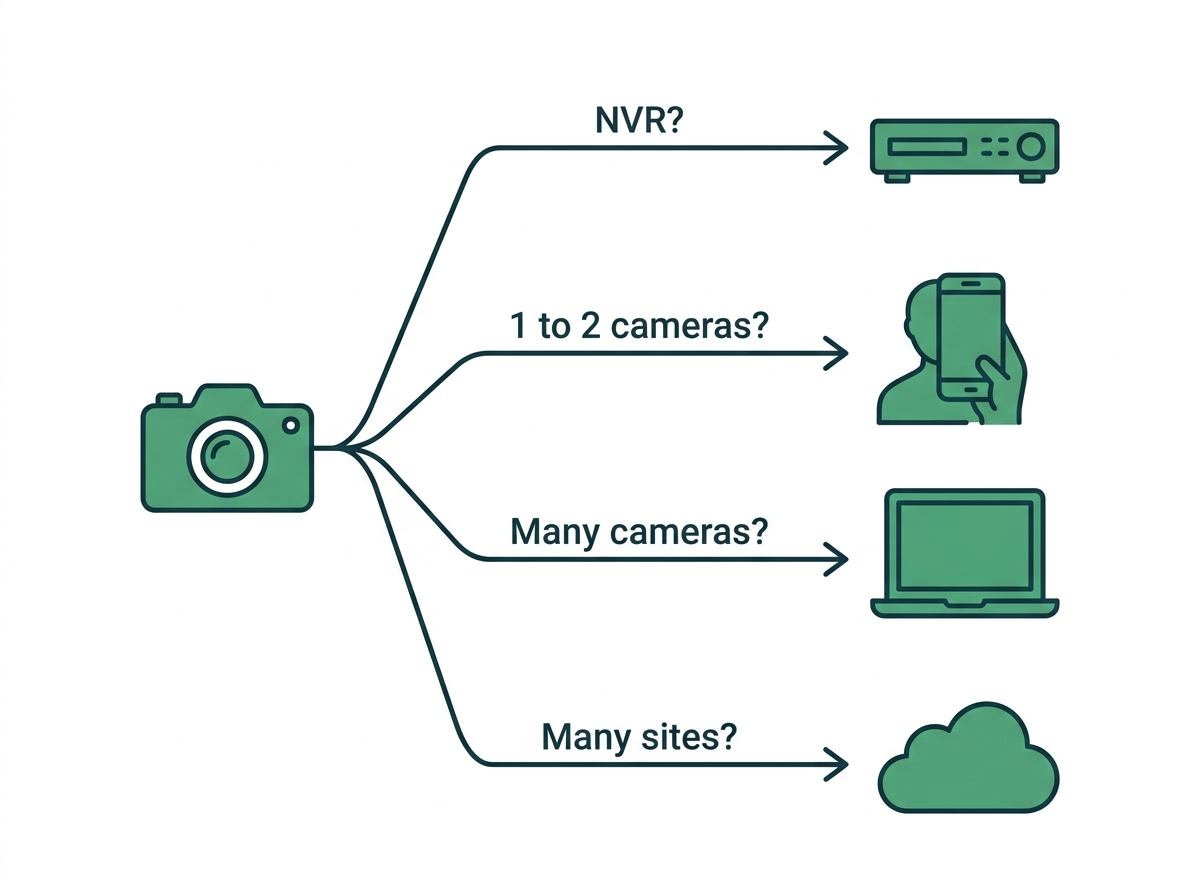
Match the path to the size of the job. VIGI gives you several ways to activate and manage a camera.
|
Setup Path |
Best For |
What You Need |
|
VIGI NVR with monitor and mouse |
Most business installs with local recording |
NVR, monitor with HDMI or VGA, USB mouse |
|
VIGI NVR web interface |
Configuring the NVR from a laptop |
PC on the same network, browser |
|
VIGI App |
One or two cameras, or quick on-site setup from a phone |
Android or iOS phone, TP-Link ID |
|
VIGI Config Tool |
Installers handling many cameras |
Windows PC |
|
VIGI Security Manager or PC Client |
Day-to-day viewing and management from a desktop |
Windows PC |
|
VIGI Cloud VMS |
Multi-site businesses and managed installs |
TP-Link ID, internet at each site |
How Do You Set Up a Camera With a VIGI NVR?
Plug the cameras into the NVR, set two passwords, and let Plug and Play do the rest. This is the most common setup for shops, clinics, offices, and warehouses.
- Connect the hardware. Plug each camera into a PoE port on the NVR or a PoE switch on the same network. Connect the NVR's LAN port to your router, a monitor to HDMI or VGA, and the included mouse to a USB port.
- Set passwords. On first boot the NVR asks for a login password and a password for camera management. The VIGI NVR getting-started guide shows this as the first step.
- Set the time. Pick UTC+8 for Philippine Standard Time and turn on NTP sync. Correct timestamps matter if footage ever becomes evidence.
- Initialize the hard drive. The setup wizard offers this. Skip it, and the NVR has nowhere to record.
- Add password recovery. Enter an email address for reset instructions. The NVR needs internet access to send them.
- Let Plug and Play add cameras. With Plug and Play on, new and unused VIGI cameras on the local subnet are added and activated automatically, as shown in the Plug and Play setup steps for VIGI NVRs.
- Link to the VIGI App (optional). Turn on Access to VIGI Cloud Personal to bind the NVR to your TP-Link ID and view recordings on your phone.
Setting up from a laptop instead? Connect the PC to the same network and type the NVR's IP address into a browser. If your router assigns addresses, find the NVR's MAC address in its DHCP client list. With no DHCP server, the NVR falls back to 192.168.0.240.
How Do You Add a Camera in the VIGI App?
Tap +, scan the QR code on the label, and set a password. Use this path for one camera, a small store, or quick on-site setup.
- Open the VIGI App and log in with your TP-Link ID.
- Pick a mode. Choose Personal Edition (My VIGI) or My Organization. Businesses with several sites or staff accounts should use My Organization.
- Tap the + button. The VIGI App guide to adding devices lists three ways to add a device: scan the QR code on the label, auto-discover devices on your network, or add one manually.
- Set the device password to activate the camera.
- Set the time zone and name the camera. Use names that say where it points, like "Back Gate" or "Cash Counter," not "Camera 3."
- Tap Done. The camera now appears in Live View.
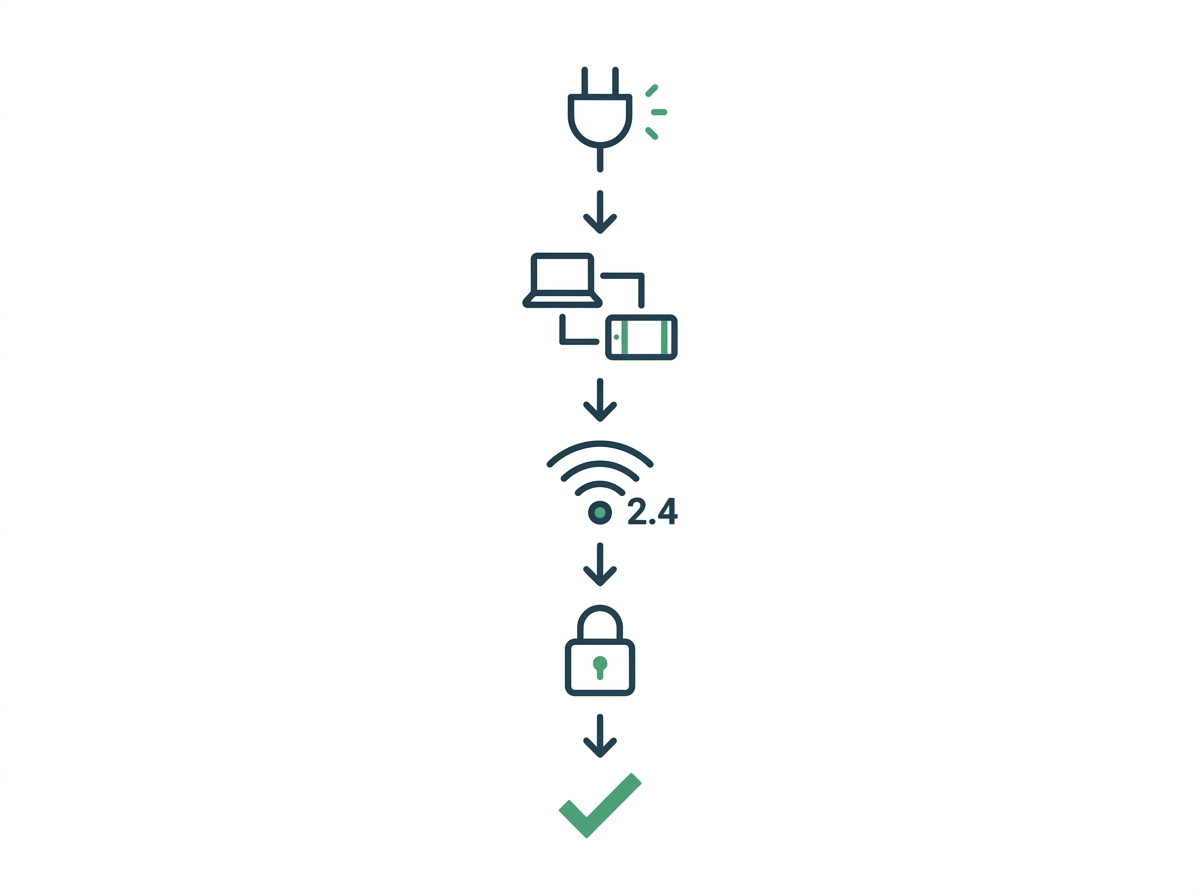
Wi-Fi models add one step. You join your phone to the camera's temporary network, named VIGI_IPC plus the last four characters of its MAC address, so the app can pass it your Wi-Fi details. These cameras connect on 2.4 GHz only, and thick concrete walls cut that signal fast, so mount the camera within clear range of your router or access point.
How Do You Configure Many Cameras at Once?
Use VIGI Config Tool, a free Windows program built for batch work. Setting up 16 cameras one by one on a phone wastes an afternoon.
What it does:
- Scans the local network and lists every VIGI device it finds
- Initializes cameras and NVRs, setting passwords for all of them in one pass
- Sets network addresses, time, and platform access for many devices at once
- Shows live video streams so you can confirm each camera's view
- Upgrades firmware online or from a local file, and saves reusable templates for cameras, NVRs, and solar systems
Installers who save templates for common jobs, like a "sari-sari store four-camera kit" or a "warehouse perimeter kit," cut repeat configuration to minutes.
Which Settings Should You Fix on Day One?
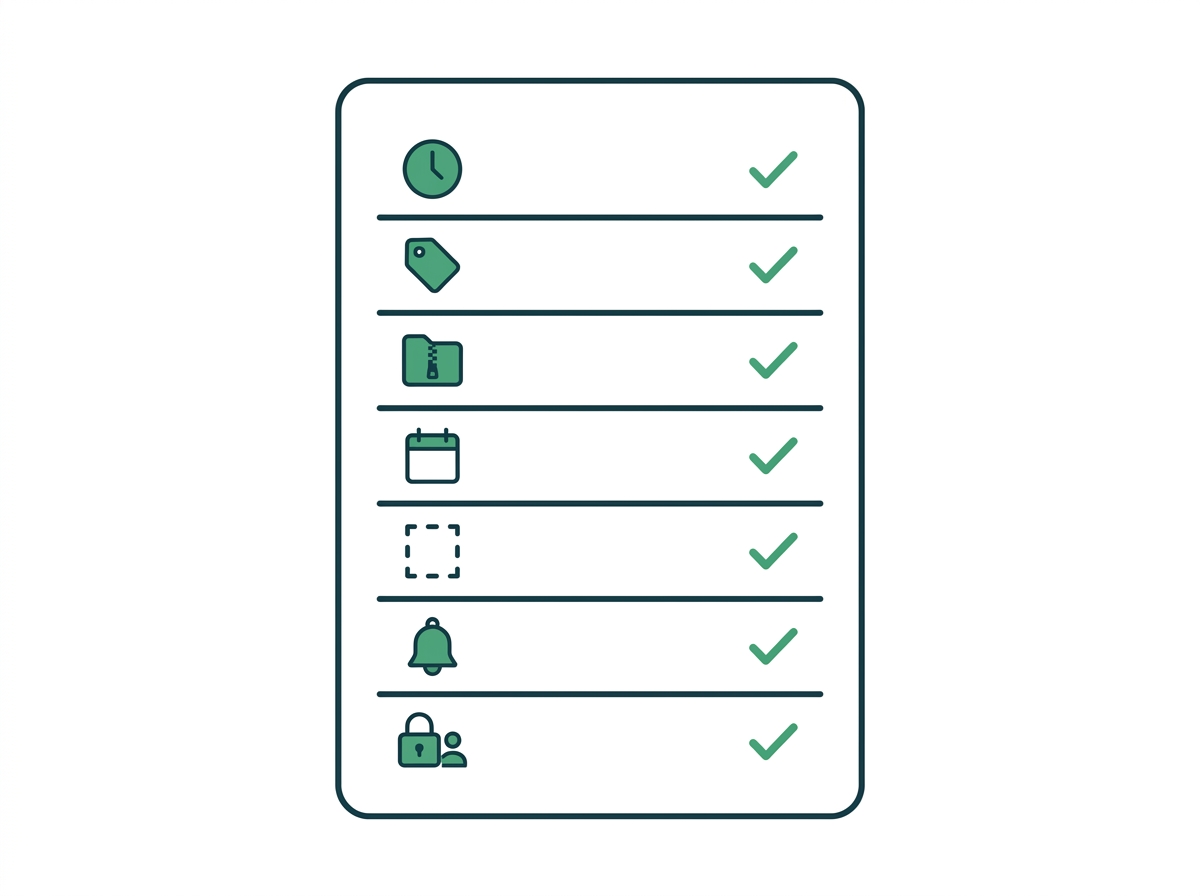
Time, compression, recording schedule, detection, notifications, firmware, and user accounts. Activation gets the camera online. These settings make it useful.
|
Setting |
What to Do |
Why |
|
Time and date |
UTC+8, automatic NTP sync |
Accurate timestamps for evidence |
|
Camera name and OSD |
Location-based names on screen |
Faster review and clearer exports |
|
Video compression |
H.265+ |
Saves drive space |
|
Recording schedule |
Continuous for entrances and cash areas, event-based for low-risk rooms |
Balances evidence and drive space |
|
Smart Detection |
Draw zones and lines on each camera |
Fewer false alerts, faster searches |
|
Privacy mask |
Block out windows or neighboring property in view |
Keeps recording inside your own space |
|
Notifications |
Turn on alerts for the rules that matter after hours |
Real-time response |
|
Firmware |
Update to the latest release |
Security fixes and better detection |
|
User accounts |
Separate logins for owners, managers, and staff |
Access control and accountability |
The last row isn't just good practice. Under the NPC's CCTV circular, live feeds should be limited to authorized personnel named in your CCTV policy, and separate accounts make that easy to prove. Before you schedule anything, work out how much drive space your recording schedule needs. To pick the right rule for each camera, see which detection rule fits each spot on your property.
How Do You Set Up Remote Viewing?
Bind the NVR or camera to your TP-Link ID, and the VIGI App shows live view, playback, and alerts from anywhere with data or Wi-Fi. There is no port forwarding to configure.
Connection speed still matters. Median fixed internet download speeds in the Philippines reached 105.17 Mbps and median mobile speeds 59.64 Mbps at the end of 2025, according to Ookla data published by DataReportal. Remote viewing leans on the upload side of your plan, which is usually much slower, so check your PLDT, Globe, or Converge upload speed before promising the owner smooth live view from four cameras at once.
Running more than one branch? VIGI Cloud VMS brings sites into one dashboard with separate permissions for each location, and our guide to running cameras across several branches or warehouses covers that setup. Our guide to viewing your security cameras from anywhere compares the remote options in more detail.
What If a Camera Won't Show Up?
Most setup problems come down to power, network, or a camera that was activated somewhere else first.
- Check power. Look at the PoE port lights on the NVR or switch, and swap to a known-good port and cable. After a brownout, confirm the switch came back up before blaming the camera.
- Check the network. The camera and your phone, PC, or NVR must be on the same subnet during setup. Guest Wi-Fi networks often block device discovery. Cameras on the NVR's own PoE ports and cameras on an external switch land on different subnets, which is the most common reason a powered camera goes missing.
- Check the Wi-Fi band. Wi-Fi models join 2.4 GHz networks only. A router broadcasting a single combined name may need its 2.4 GHz band named separately.
- Check for a previous activation. A camera set up before already has a password. Use it, or reset the camera and start fresh.
- Adding a third-party camera? VIGI NVRs accept ONVIF cameras. Activate the camera and turn on ONVIF in its own settings first, then log in to the NVR's web interface and add it under Settings, Camera, Device Access.
- Still stuck? VIGI Config Tool shows every VIGI device on the network with its IP address and status. It is often the fastest way to see what is actually going on.
Frequently Asked Questions
Do I need an NVR to use a VIGI camera?
No. VIGI cameras work on their own with a microSD card and the VIGI App, and some models take cards up to 512 GB. An NVR adds central recording on a large hard drive, one place to review every camera, and easier management once you pass three or four cameras. Small sari-sari stores often start without one, then add an NVR when they expand to a second camera group.
Can I set up a VIGI camera without a computer?
Yes. The VIGI App handles activation, naming, detection rules, and basic settings straight from your phone. You can also run a VIGI NVR directly with a monitor and the included USB mouse, no laptop required. A computer only becomes worth it when you are configuring many cameras at once with VIGI Config Tool or managing several sites from a desktop.
What happens if I forget the NVR password?
Recovery works if you set it up on day one. During first setup, the NVR asks for an email address that will receive reset instructions, and it needs internet access to send them. Skip that step, and you will need the reset process in your NVR's support documentation instead. Store the NVR and camera passwords with your business records, not on the device itself.
Can I use VIGI cameras with another brand's NVR?
Yes, through ONVIF. Activate the camera first with the VIGI App, VIGI Config Tool, or the camera's web page, then follow the other recorder's manual to add it. Smart features such as detection rules may work only partly on a third-party recorder, so test the alerts you rely on before you mount the camera on the wall.
What's the difference between VIGI Config Tool and VIGI Cloud VMS?
They cover different stages. VIGI Config Tool is a Windows program for finding, initializing, and batch-configuring devices on a local network, which makes it an installer's tool. VIGI Cloud VMS is a cloud platform for day-to-day monitoring, alerts, and permissions across one or many sites, which makes it the owner's tool once the system is running.
Why can't my Wi-Fi camera find my 5 GHz network?
Because VIGI Wi-Fi cameras connect on 2.4 GHz only. Many home and office routers broadcast both bands under one network name, which can confuse setup. Give the 2.4 GHz band its own name in your router settings, or run setup from a phone joined to the 2.4 GHz band. The longer range of 2.4 GHz also helps the signal pass through concrete walls.
Should I configure cameras before or after mounting them?
Before. Bench-test every camera on a table with the NVR first: activate it, name it, update firmware, and confirm it records. Fixing a bad cable or an unactivated camera takes a minute on a workbench and an hour on a ladder. Once mounted, only the view-dependent settings remain, such as aim, detection zones, and privacy masks.
Final Thoughts
If you've inherited a system where every camera is called "IPC" and the clock is eight hours off, you already know why setup order matters. Pick the path that matches the job, fix time, compression, detection, and user accounts before you leave the site, and link everything to the VIGI App so you can check in from anywhere.
For a full installation walkthrough, see how to plan cable runs and mount cameras step by step. For every step from planning to handover, read the CCTV & Camera Installation Guide Philippines.
Setting up more than a handful of cameras? Start with the VIGI NVR1008H-8MP for up to eight PoE cameras, then get the free VIGI Config Tool and VIGI App. Compare VIGI recorders by channel count, or get a VIGI reseller to configure and hand over a multi-camera system.